
Configure Microsoft Entra ID (Azure AD) SSO
Introduction
Microsoft SSO (Single Sign-On) lets the members of your organization sign in to the Chargekeeper supervision with their corporate Microsoft account (Microsoft Entra ID / Azure AD), without creating or managing a Chargekeeper password.
Once SSO is enabled, your tenant's login page shows a "Sign in with Microsoft" button. The user authenticates with Microsoft (under your own rules: MFA, conditional access…), then is redirected to the supervision.
This guide is aimed at the IT manager of the operator tenant: it covers what you configure on the Microsoft Entra ID side and on the Chargekeeper supervision side.
Terminology note: Microsoft renamed Azure Active Directory (Azure AD) to Microsoft Entra ID in July 2023. The service is unchanged (tenants, app registrations, OAuth/OIDC,
login.microsoftonline.comendpoints) — only the brand name and some portal labels have changed. Both terms refer to the same thing.
What Microsoft SSO gives you
- No Chargekeeper password to distribute or reset: your users reuse their corporate Microsoft identity.
- Centralized lifecycle: when someone leaves the organization, disabling their Microsoft account also cuts their access to the supervision.
- Your security policies apply: multi-factor authentication (MFA), conditional access, managed devices… are all driven from your Entra ID tenant.
- Just-in-time account creation (optional): new users can get a Chargekeeper account automatically on their first sign-in (see Automatic provisioning).
Prerequisites
- SSO must be enabled for your tenant. The SSO authentication tab only appears under Technical Settings if the SSO component is active on your contract. If you cannot see it, contact Chargekeeper support to have it enabled.
- An administrator role in the Chargekeeper supervision giving you access to Technical Settings.
- A Microsoft Entra ID administrator in your organization, able to:
- register an application in your Entra ID directory;
- generate a client secret;
- grant admin consent to the requested permissions.
- At least one existing Chargekeeper user (or automatic provisioning enabled) so you do not lock yourself out of the supervision.
Setup overview
Configuration takes four steps:
- Retrieve your organization's Tenant ID.
- Register an application in your Entra ID (with a client secret and its expiry date) and grant consent.
- Enter those details in the Chargekeeper supervision.
- Verify the sign-in.
Shared Chargekeeper application (optional, depending on your environment). In some environments, Chargekeeper may provide a shared Azure application. If that is the case for yours, you can skip the app registration (step 2): leave the Client ID / Client Secret fields empty and simply declare your Tenant ID, then grant consent via the Admin consent link in the configuration window. Check with Chargekeeper first whether this option is available; otherwise, follow the standard procedure below (registering your own application).
Step 1 — Retrieve your Tenant ID
This Tenant ID (GUID) identifies your organization in Microsoft Entra ID. It is used to allow only your users.
- Sign in to the Azure portal (
https://portal.azure.com). - Open Microsoft Entra ID → Overview.
- Copy the Tenant ID field (format
xxxxxxxx-xxxx-xxxx-xxxx-xxxxxxxxxxxx).
Keep this value: you will enter it in step 3 in the Allowed Azure AD tenants field.
Step 2 — Register your application in Microsoft Entra ID
- Go to Microsoft Entra ID → App registrations → New registration.
- Name: for example
Chargekeeper SSO. - Supported account types: Accounts in this organizational directory only (your single organization) is enough, since the application only serves your users.
- Redirect URI: platform "Web", then enter your Chargekeeper instance's redirect (callback) URI. It is the same for every tenant on a given instance: a single URI is shared by all organizations, because a signed token (
state) identifies yours on the backend. On the standard Chargekeeper instance:https://rest.service-evse.com/v1/auth/sso/microsoft/callback⚠️ This URI always points to the platform's REST host, never to your supervision. If your organization is hosted on a dedicated / white-label instance (different REST host, e.g.
rest.<your-instance>), confirm the exact URL with Chargekeeper support. - Click Register, then note the Application (client) ID shown: this is your Client ID.
- Certificates & secrets → New client secret: generate a client secret.
🔑 Azure requires an expiration date on the secret (24 months maximum). Copy the Value shown immediately (it is not displayed again): this is your Client Secret. Also note the expiration date: you will enter it in the supervision, and the secret must be renewed before it expires (see Secret rotation), otherwise SSO will stop working.
- API permissions → Microsoft Graph → Delegated permissions: add
openid,profile,email,User.Read, then click Grant admin consent for your organization.
Step 3 — Configure the Microsoft provider in the supervision
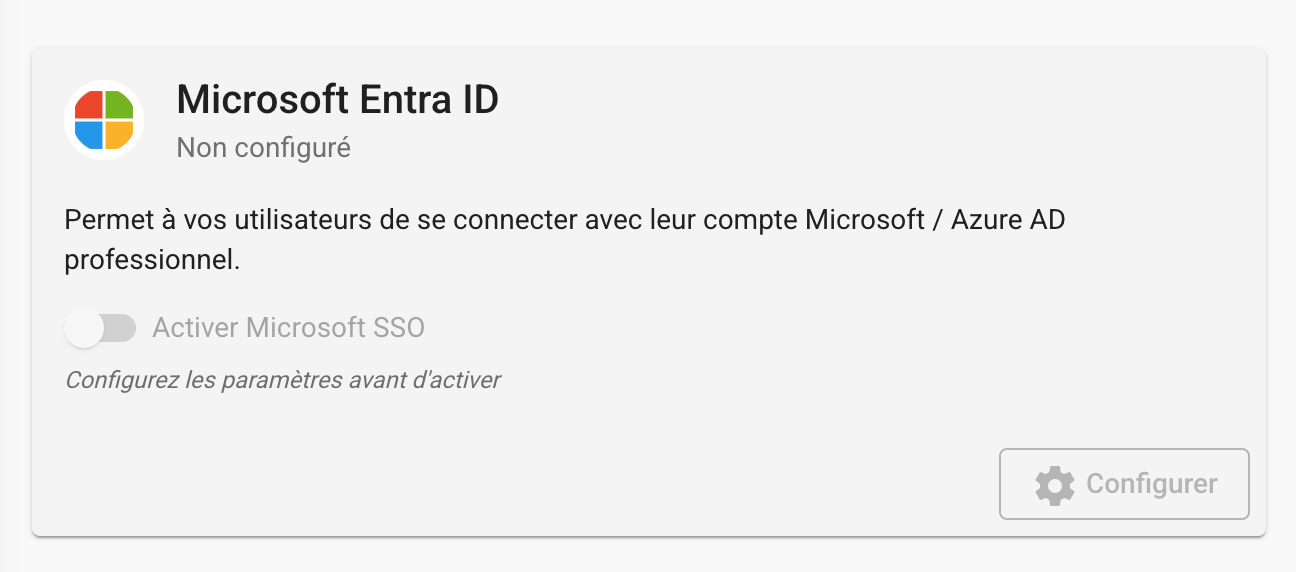
In the supervision, open Technical Settings → SSO authentication, then, on the Microsoft Entra ID card, click Configure.
Then fill in the Microsoft SSO configuration window:
| Field | What to enter |
|---|---|
| Enable Microsoft SSO for this tenant | Enables the provider. The "Sign in with Microsoft" button will appear on your login page. |
| Allowed Azure AD tenants | Enter your Tenant ID (step 1) and press Enter. You can add several. Format: lowercase UUID. |
| Custom Azure app (advanced) — Client ID | Paste the Application (client) ID from step 2. |
| Custom Azure app (advanced) — Client Secret | Paste the client secret Value from step 2. |
| Custom Azure app (advanced) — Secret expiration date | Enter the secret's expiry date (step 2) to be alerted before it expires. |
| Allowed email domains (optional) | Domains accepted for automatic provisioning (e.g. acme.com). See the dedicated section. |
| Auto-provision new users (optional) | Creates a Chargekeeper account on the first sign-in of an unknown user. See the dedicated section. |
| Default group for new users (if provisioning enabled) | Group assigned to accounts created automatically. |
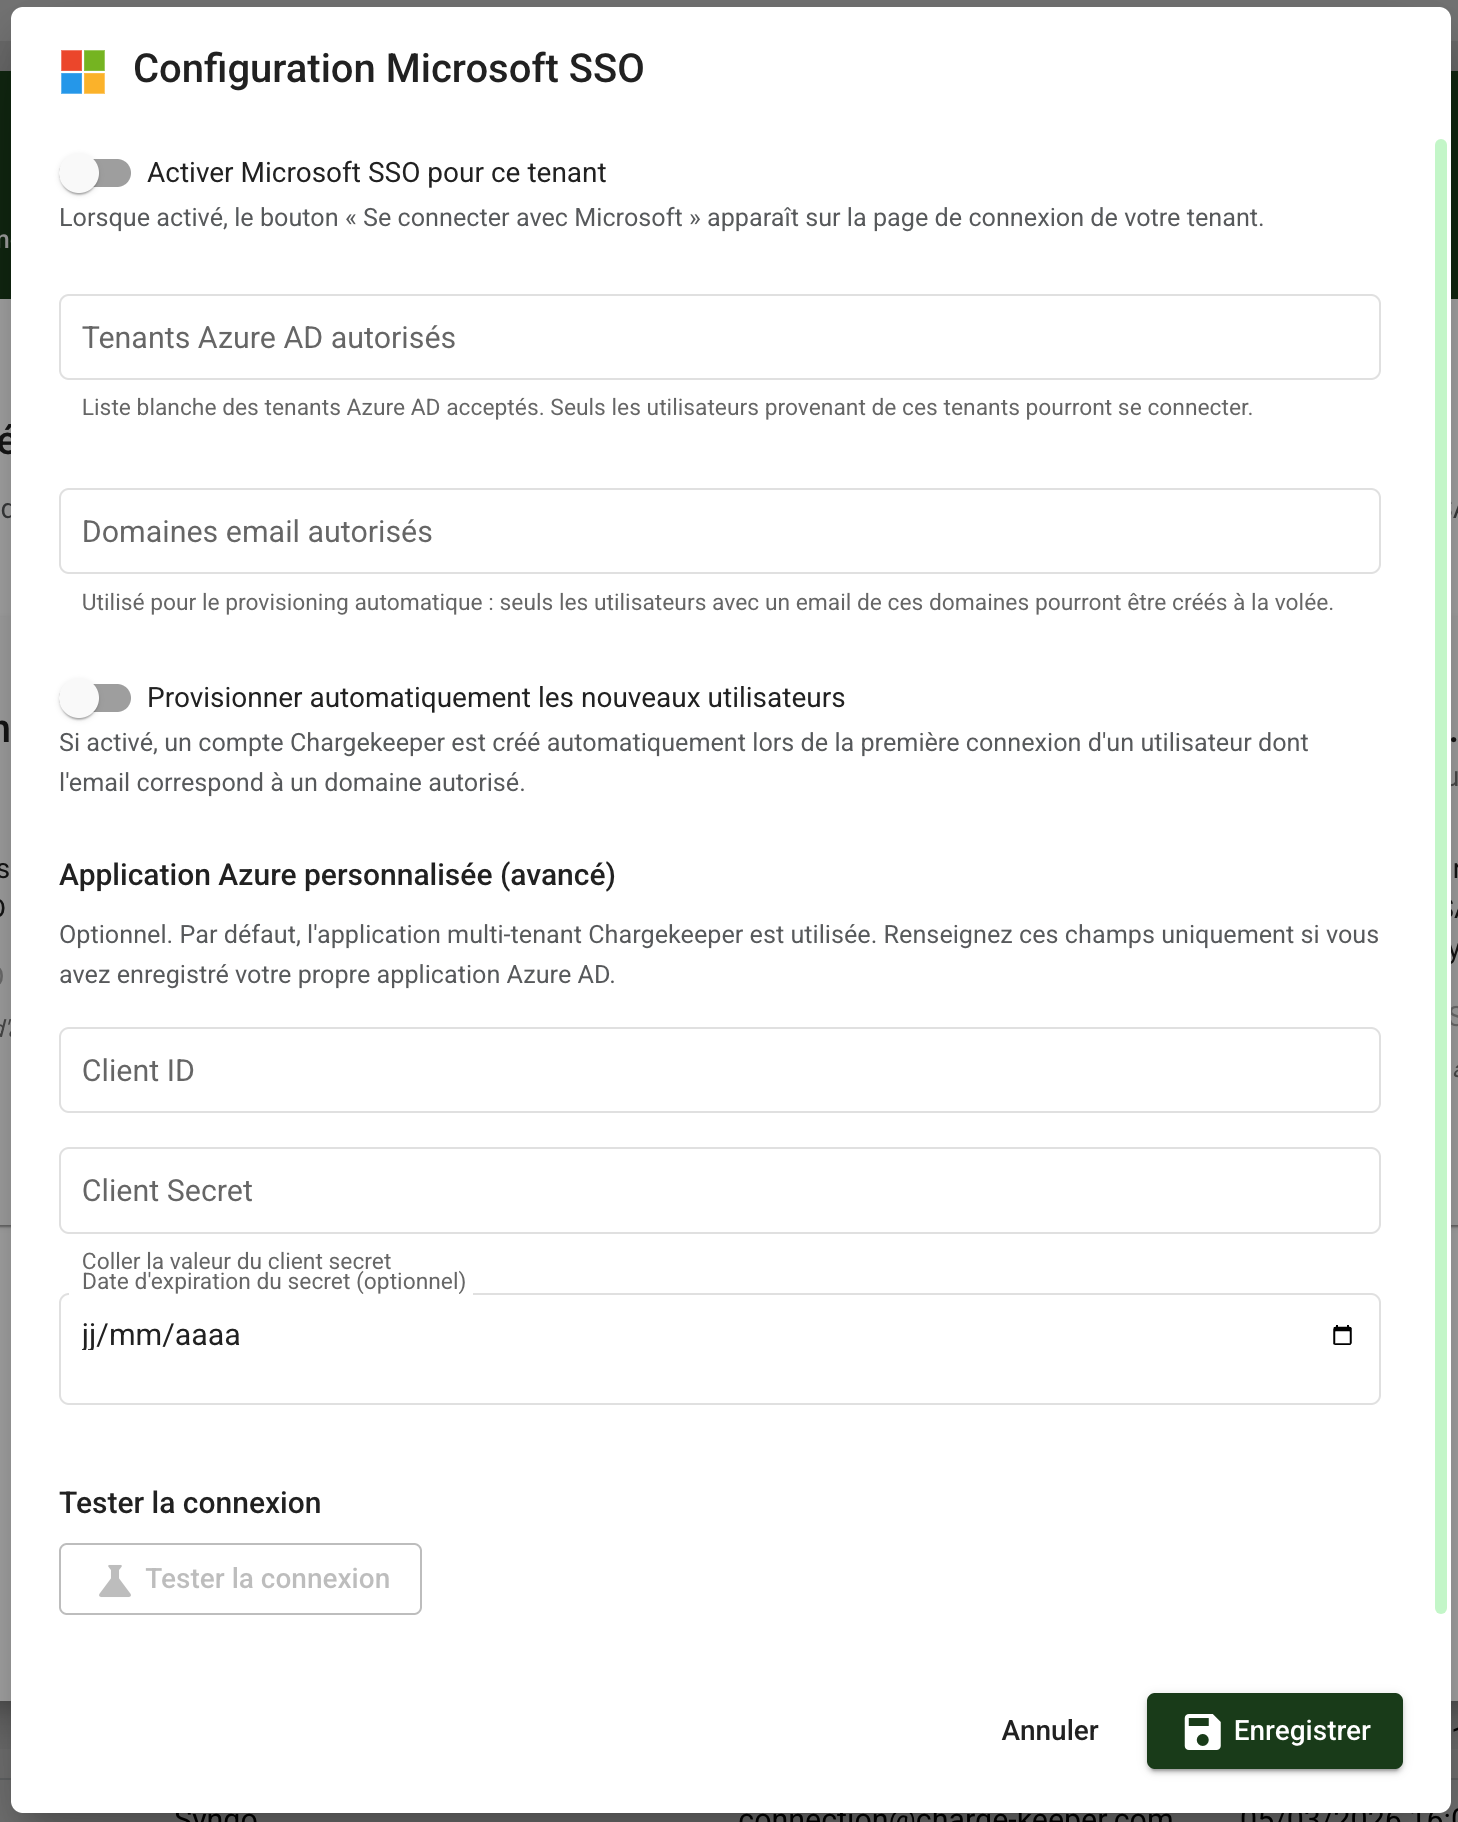
Finally, click Test connection to verify that your Azure tenants respond, then Save.
⚠️ Client ID and Client Secret go together. Filling in only one of the two leaves the configuration half-configured and blocks SSO: enter both (or, if you use the shared Chargekeeper application, leave both empty — see the note under Setup overview).
Automatic account provisioning (optional)
By default, only users already present in Chargekeeper can sign in via SSO. An unknown user is refused.
You can lift this constraint by enabling Auto-provision new users. A Chargekeeper account is then created automatically on the first sign-in, under conditions:
- Allowed email domains: provisioning is deny by default. Only emails belonging to the domains you list (e.g.
acme.com) are created. If the list is empty, nobody is provisioned. - Default group for new users: new accounts are attached to this group. Only groups from your tenant are offered; roaming groups and the Super-Admin group are intentionally excluded (no privileged access is created automatically).
- The created account is active immediately (the email is already verified by Microsoft) and has no password (SSO sign-in only).
A user whose email matches an existing Chargekeeper account is automatically linked to their Microsoft identity on their first SSO sign-in — no duplicate is created.
Step 4 — Verify the sign-in
- Open your supervision's login page: the "Sign in with Microsoft" button must be present.
- Click it and authenticate with a Microsoft account from an allowed tenant.
- You are redirected to the supervision, signed in.
Troubleshooting
| Symptom | Likely cause & resolution |
|---|---|
| The SSO authentication tab does not appear under Technical Settings | The SSO component is not enabled on your tenant. Contact Chargekeeper support. |
| The "Sign in with Microsoft" button does not appear | The Microsoft provider is not enabled and saved. Check the Enable Microsoft SSO for this tenant toggle and Save. |
| SSO does not start after saving | Only one of the Client ID / Client Secret fields is filled in. Enter both (or clear both if you use the shared Chargekeeper application). |
| Sign-in refused for a user | Their Azure tenant is not in Allowed Azure AD tenants, or (unknown user) automatic provisioning is disabled / their email domain is not allowed. |
| Sign-in suddenly fails after several months | The client secret has expired. Generate a new one on the Azure side and update it in the supervision (see Secret rotation). |
| An administrator sees a consent screen instead of signing in | Admin consent was not granted (step 2.7). |
Secret rotation
The Azure client secret has a limited lifetime (the expiry you set in step 2). Entering the expiration date in the supervision lets you be alerted before it expires. Before then:
- In your Entra ID, generate a new client secret (the old and new secrets can coexist during the switchover).
- In the supervision, reopen Microsoft SSO configuration, re-enter the new Client Secret and its new expiration date, then Save.
- Once the switchover is verified, delete the old secret on the Azure side.
Google Workspace and SAML 2.0 SSO (ADFS, Okta, PingFederate, Keycloak…) have been studied, but are not available to date. If either one is a requirement for your teams, talk to your Chargekeeper contact: we can speed up its availability on your environment.
